日本語
日本語
Verifying Timestamps of a Registered File
This section explains how to verify timestamps of a registered file. You can verify the timestamps of a registered file by clicking the [Verify] button or by opening the file on the [Project] screen and verifying it.
Verifying by Clicking the 'Verify' Button
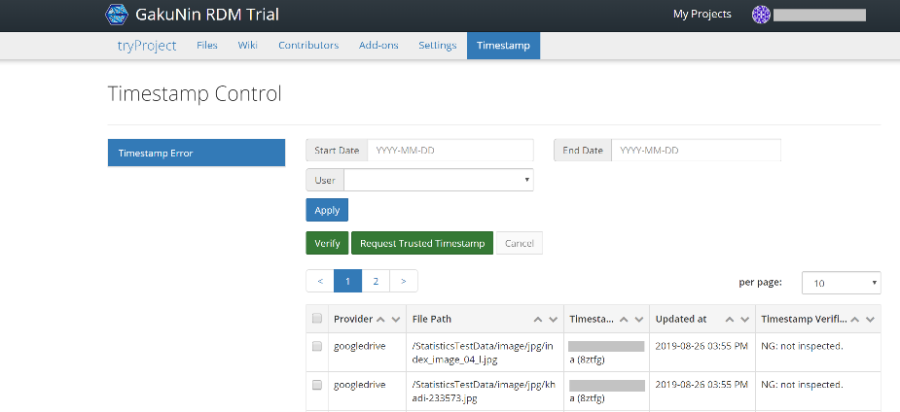
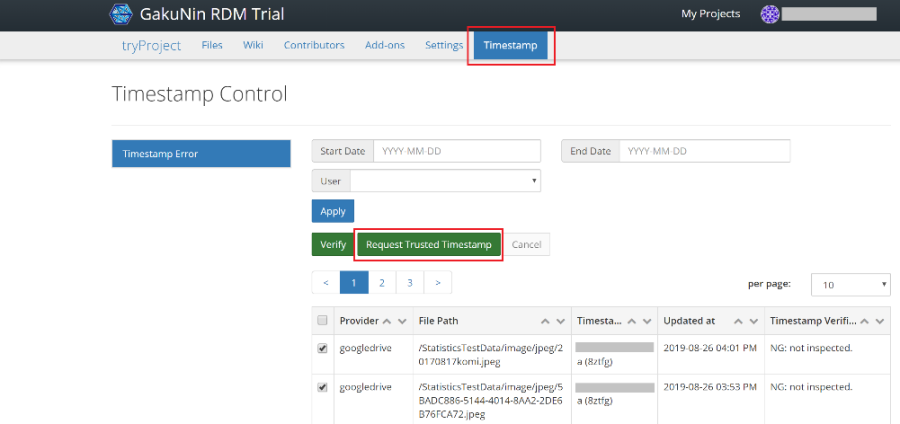
1. When you select the ‘Timestamp’ tab on the ‘Project’ screen, the file with the timestamp error will be displayed. After checking the file for which you wish to verify the timestamp, click the [Verify] button.
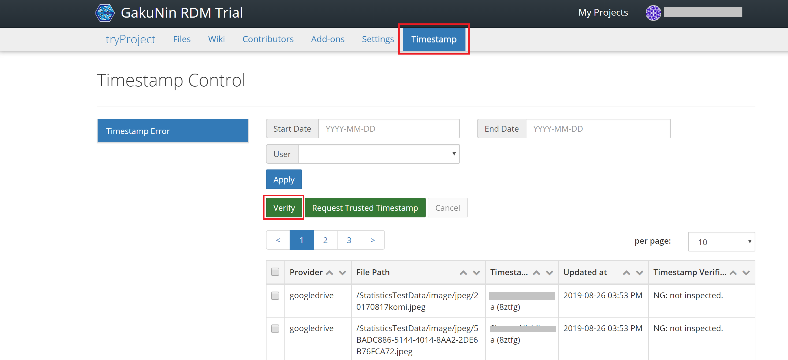
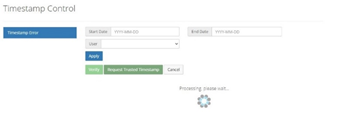
2. The verification of timestamps will be performed. In case of an error, please refer to 'Adding Timestamps to a Registered File' below.
Verifying by Opening a File
When you open the file content confirmation screen (i.e. 'Files' screen), the timestamp will be verified as the screen appears.
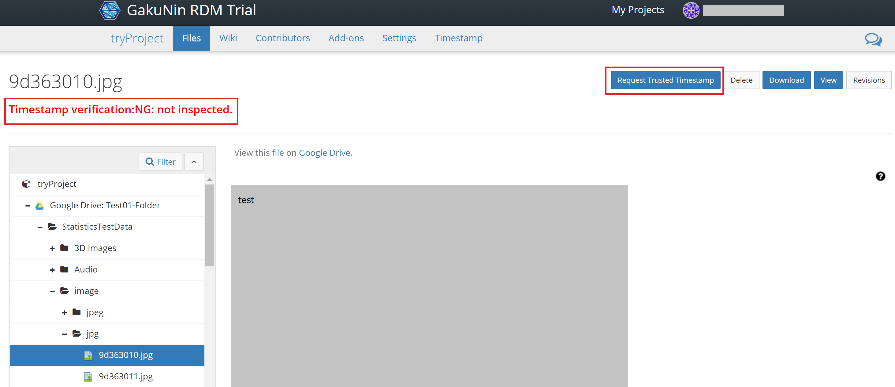
1. Select the 'Files' tab on the 'Project' screen and specify the file.
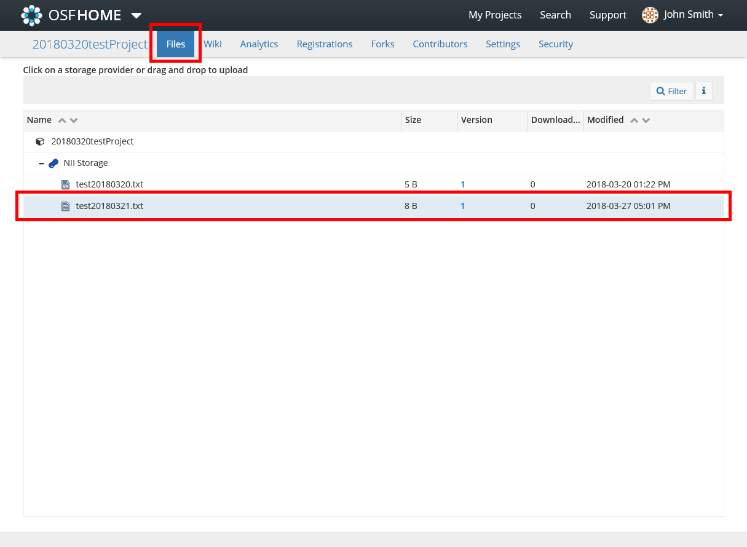
The information of the specified file will be displayed.
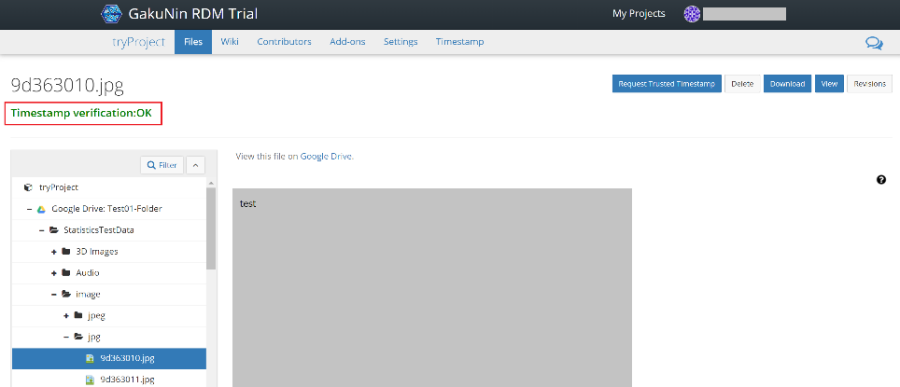
2. In case of an error, click the [Request Trusted Timestamp] button to reset the timestamp.
A timestamp will be added, and the verification status of the timestamp will be updated.
Adding Timestamps to a Registered File
This section explains how to add a timestamp to a registered file.
1. When you select the ‘Timestamp’ tab on the ‘Project’ screen, a list of files will be displayed. Check the files to which you wish to add a timestamp, and then click the [Request Trusted Timestamp] button.
2. A timestamp will be added. If the timestamp is added successfully, the file will disappear from the screen.