You can manage the files you added to a project.
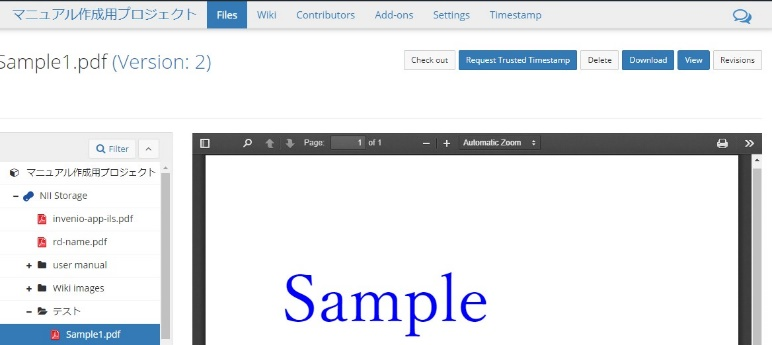
Click 'File' on the navigation bar of the project's main screen to move to the file management screen.
The file management screen shows the storage mounted on the project.

Registering a File
Select the storage or folder to which you wish to add the file. Click to bring up the toolbar.
![]()
Click the 'Upload' button on the toolbar to open the file selection window.
When you select a file, the file will be uploaded to the storage.

Moving a File
Drag and drop the file you wish to move to the destination folder. For NII storage, you can select multiple files at the same time. Please note that in the case of external storage, it may not be possible to select and copy multiple files.

Deleting a File
Select the file you wish to delete and click the 'Delete' button on the toolbar to display the confirmation modal window.

When you click the red 'Delete' button, the file will be deleted. Please note that the deleted file cannot be restored.

File's Change History
GakuNin RDM manages the change history of uploaded research data files such as registration, editing and deletion.
Version Control ('Revisions') Button

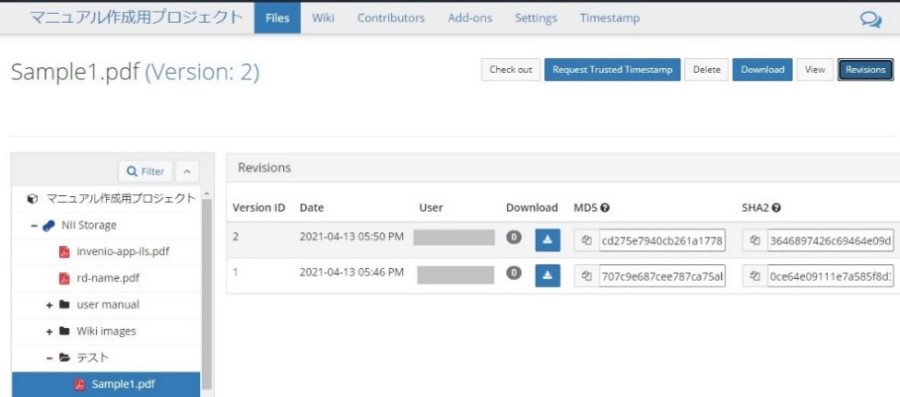
When you access each file, you will see the 'Revisions' button in the upper right. This will display the change history you are currently managing.

When you click the number in the 'Version ID' column, the file of that version will be displayed. Click the button in the 'Download' column to download the version of the file. An MD5/SHA2 format checksum is stored for each file. By collating the checksum of the downloaded file, you can find out which Version ID file that is stored on GakuNin RDM the downloaded file is.
Recent Activity
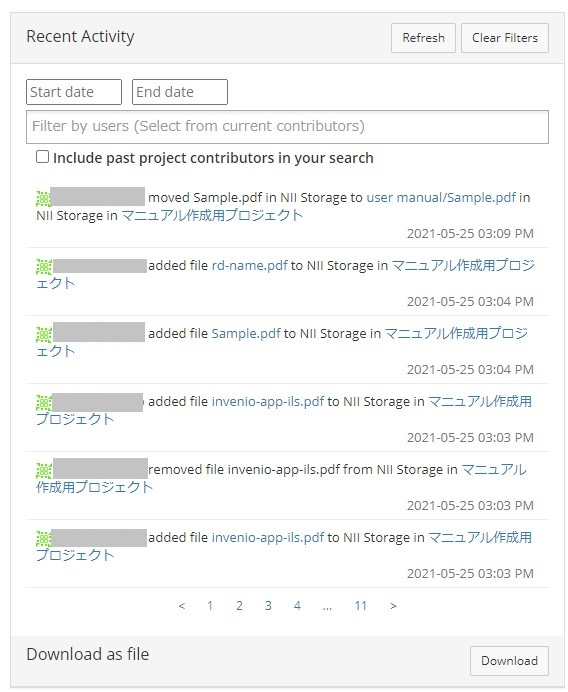
'Recent Activity' column displays the change history such as registration/editing/deletion made on GakuNin RDM.
When you upload a file, the upload will be displayed in the 'Recent Activity' column for each file. When you click the 'Refresh' button at the right end of the 'Recent Activity' column, it will update to the latest status.


 日本語
日本語
